Building a Home Photography Studio: Where Professional Work Really Happens
Photographers don’t thrive in crowded offices or rigid corporate environments.
They don’t do their best work surrounded by endless meetings, training videos, or packed schedules that leave little room for creative focus.
Photography requires something different: independence, control, and space.
A space where you can experiment, refine your style, and show clients exactly what makes your work unique. For many professional photographers, that space is a home studio.
In this guide, we’ll walk through what truly matters when building an at-home photography studio, not as a shortcut, but as a professional foundation for long-term growth.
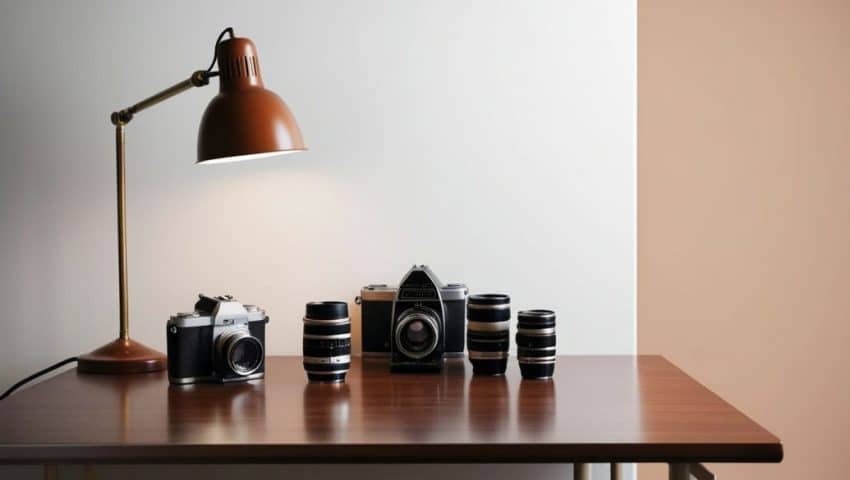
A Photography Studio at Home: Where to Start
Most photographers find themselves in one of two situations:
- You’ve been working professionally for years and are tired of renting external studio space.
- You’re building your career and want to control costs without compromising quality.
In both cases, the answer is often the same: create your own studio.
The most important advice?
Don’t rush.
Avoid the temptation to buy everything at once. Build your studio gradually, starting with what you genuinely need. Let the space evolve alongside your work; this is how studios become personal, functional, and truly yours.
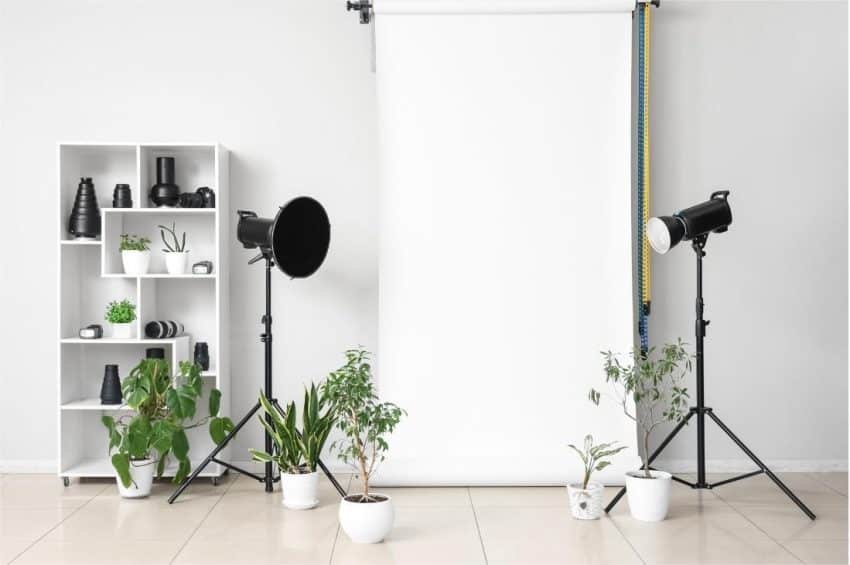
Choosing the Right Space
The room you choose matters more than you think.
Ask yourself:
- Do you need room for people or objects?
- Will you photograph individuals, families, or still life?
- Do you need flexibility or controlled environments?
- What kind of lighting setup will you use?
A tabletop photographer won’t need the same space as someone shooting portraits or groups. Choose accordingly.
But size isn’t everything.
Your studio should also feel comfortable and welcoming for clients.
Too cramped feels chaotic; too large can feel impersonal. Balance is key. If clients will visit, access to a bathroom and a clean, organized environment makes a real difference.
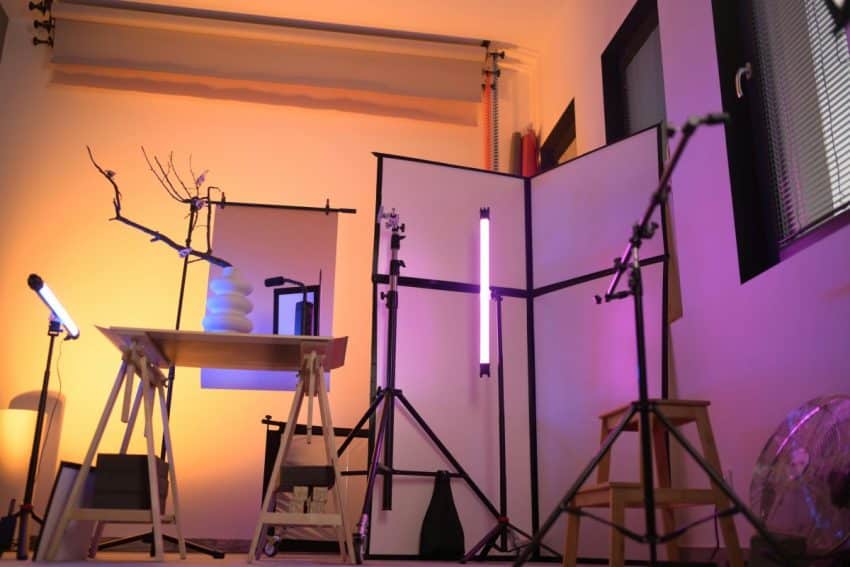
Don’t Overlook Ceiling Height
Ceilings affect light more than many photographers expect.
Low ceilings can cause unwanted light bounce, complicating exposure and post-production. High ceilings, on the other hand, offer flexibility, especially for hair lights and separation from the background.
Understanding how your ceiling height interacts with your lighting setup will save you frustration later.
Lighting: Control Is Everything
Light can make or break an image.
Natural window light can be beautiful, or unpredictable. If it interferes with consistency, blackout curtains are a simple solution.
Be mindful of ambient light: reflections, room lights, or stray sources often go unnoticed until they appear in prints. Turning off unnecessary light sources or standardizing bulbs can help.
When investing in equipment:
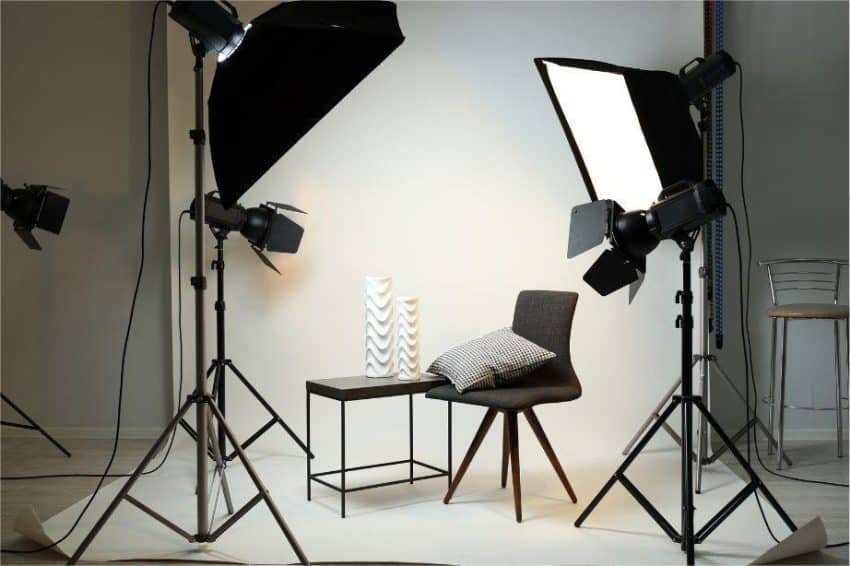
- Speed lights offer flexibility and mobility.
- Studio strobes provide power and consistency for professional setups.
- Constant lights can work, but offer limited control.
Choose based on your needs, not trends.
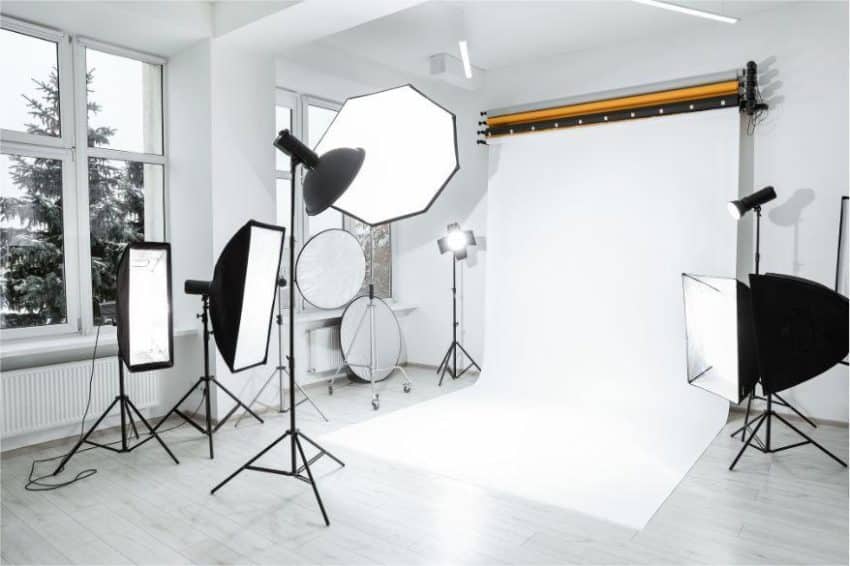
Backdrops and Modifiers: Keep It Clean and Versatile
Backdrops instantly elevate the professionalism of your studio.
Neutral tones are versatile and timeless. You can always introduce color through lighting or post-production. Be cautious with scenic or printed backdrops; they can quickly look artificial.
Light modifiers like umbrellas and softboxes allow you to shape light intentionally:
- Umbrellas spread light broadly.
- Softboxes offer precision and control.
Both have their place in a well-balanced studio.
Props: Use With Intention
Props can add depth and emotion, or unnecessary clutter.
Choose items that support your visual language. Vintage stores and second-hand shops are often the best places to find unique, affordable pieces. Less is often more.
From Studio Practice to Professional Opportunities
A home studio isn’t just about convenience.
It’s about discipline, consistency, and readiness.
The work you create there (the quality, coherence, and technical control) is what prepares you for professional platforms, exhibitions, and international recognition.
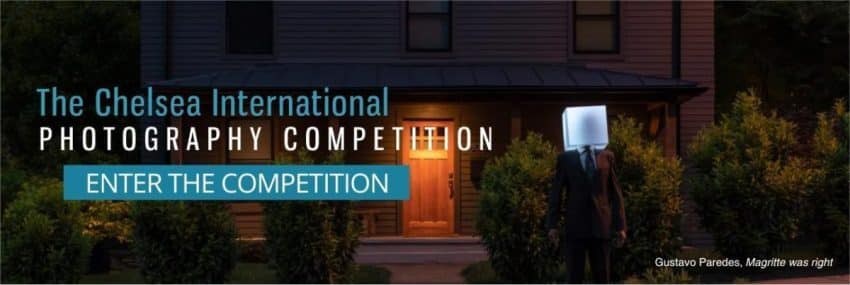
This is especially true for photographers considering competitive opportunities such as the Chelsea International Photography Competition.
The 8th edition of the competition will be opening soon, and strong, well-produced work, often developed in focused studio environments, plays a crucial role in standing out.
Final Thoughts
Building a home photography studio can feel overwhelming at first, but it’s also one of the most empowering steps you can take as a photographer.
Take your time. Make thoughtful choices. Let the space grow with you.
Your studio is not just where you work;
it’s where your professional practice takes shape.
And when the right opportunities come along, you’ll be ready.
Get the next article and open calls
A few times a year. Unsubscribe anytime.
Questions? Feedback? Thoughts on this article, or a topic you’d like us to cover?