How to Take Professional Photos of Your Artwork
Whether applying for a grant, submitting your work to a gallery, updating your online portfolio, or just posting on Instagram, artists need great photographs of their work. It’s not enough to have a high-quality image–the photo should accurately represent your artwork. In the world of technology, photos online are often the first impression that collectors, investors, and galleries will see, so you want to make it a good one.
While hiring a professional photographer can be the simplest way to get this job done, that can be expensive. Taking your own photographs can save money, and give you more control over the final images. Here is a detailed guide on how to take quality photos of your art.
Getting Started
What you’ll need:
Whether it’s a professional DSLR camera or the one built into your phone, this will be your foundation. The exact techniques will vary by device, but the concepts are the same, and while a high-quality camera will provide the highest-quality photos, smartphone cameras have evolved greatly in the last several years and can be sufficient.
If you’re looking to invest in a camera, there are settings you can customize to ensure the perfect shot such as focus, white balance, and ISO. Most cameras are sufficiently advanced, allowing images captured with automatic settings to perform well, provided you set them up effectively.
As with any purchase, you’ll want to do your own research on exact models and other users’ reviews. Fortunately, the internet provides abundant information on the different options available on the market, so take some time to look into what will work best for you.
You may also want to pick up a few accessories, such as:
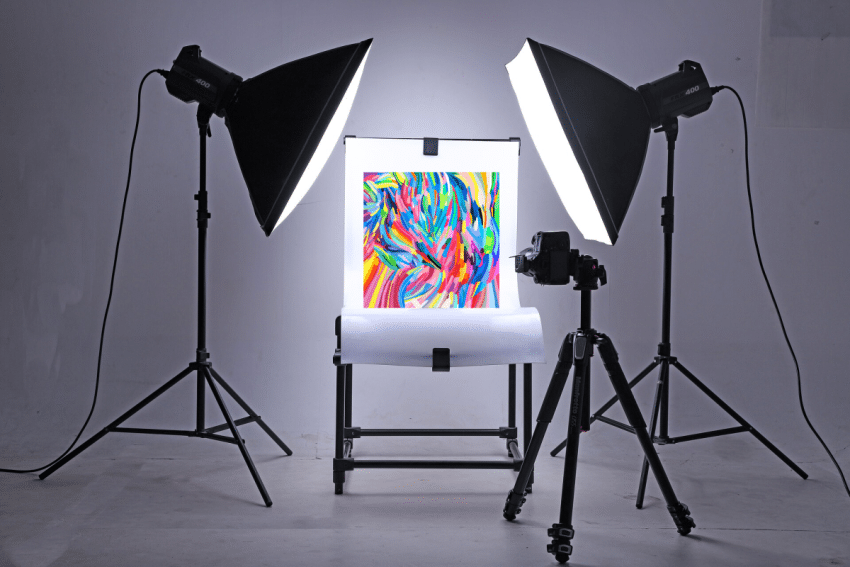
- Tripod–This is the most important accessory, and will keep the camera steady in a single position, which helps when photographing many artworks in one session, and ensures the sharpest image. You can also purchase an adapter that holds your smartphone.
- Lighting–If you don’t have good lighting to photograph your work, you’ll want to get more light to avoid inaccurate colors or shadows in your photos.
- Stowable backdrops–These roll or fold up into a compact form for easy storage when not in use. Even a large roll of neutral-colored paper can do the trick, but investing in something sturdier could prove worthwhile.
Too expensive?
If buying a new camera is out of your budget, here are a couple of alternatives:
- Shopping secondhand–There are always people looking to resell their cameras, whether that’s because of lost interest, or because they’ve upgraded to something better. Search secondhand shopping platforms such as eBay, Facebook Marketplace, Craigslist, or Offerup to see what’s available in your local area. If buying locally, ask the seller to let you test the product before you make the final transaction, to avoid getting scammed.
- Borrowing–Maybe you know a fellow artist who has a good camera, and can lend it to you for a day. Many public libraries and art centers have equipment available to borrow or rent, and if they don’t, they’re usually willing to help connect you with somewhere that does. Don’t be afraid to make a post on your local Facebook Groups or other community forums to see if anyone can help. As artists, our local community can be one of our greatest assets, and many people are happy to lend a hand.
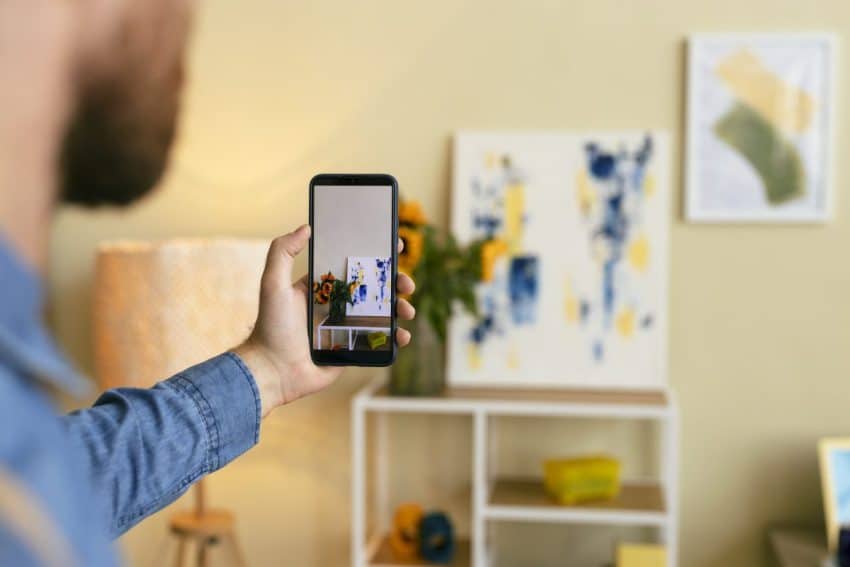
- Use what you have–As stated before, if you don’t have a professional camera, you can use your phone. Most smartphones are equipped with technology designed to optimize the photo with just a few clicks, so don’t be afraid to experiment with the settings built into your native camera app. You can use furniture and objects around you to stand in for a tripod, backdrop, and other accessories.
That said, upfront costs for a good camera will pay off in the long run. Investing in good equipment will prevent having to replace cheaper options later, and a camera is a versatile tool that can help you in other areas, such as creating content for social media, updating your professional headshot or studio photos, or taking great photos with loved ones to keep cherished memories.
Taking Your Photos
Now that you’ve got your camera, let’s get set up to take your photos!
Positioning your camera
For two-dimensional work, hang the work on a wall, or keep it propped up on an easel rather than having it laid out on the floor. Keep everything as uncluttered as possible, avoiding messy backgrounds or shadows that can make it difficult for your camera to focus on the artwork. White or gray backgrounds are best, whether using a blank wall, or even large sheets of paper.
Position your camera parallel to the work. If the work is propped at an angle, match that angle with your camera. When you look through the camera’s viewfinder, line up the edges of your piece as parallel with the sides of the image as you can.
For three-dimensional work, it’s especially important to create a blank space against which you can photograph your artwork. Rather than placing the piece against a wall, keep a bit of space between the work and the wall, and give yourself room to either move around the work or rotate the piece itself to capture multiple angles.
Adjust your lights
Lighting is crucial in photographing artwork. The placement, strength, and temperature of your lights can all affect your final image, so take extra care to set up with the following tips:
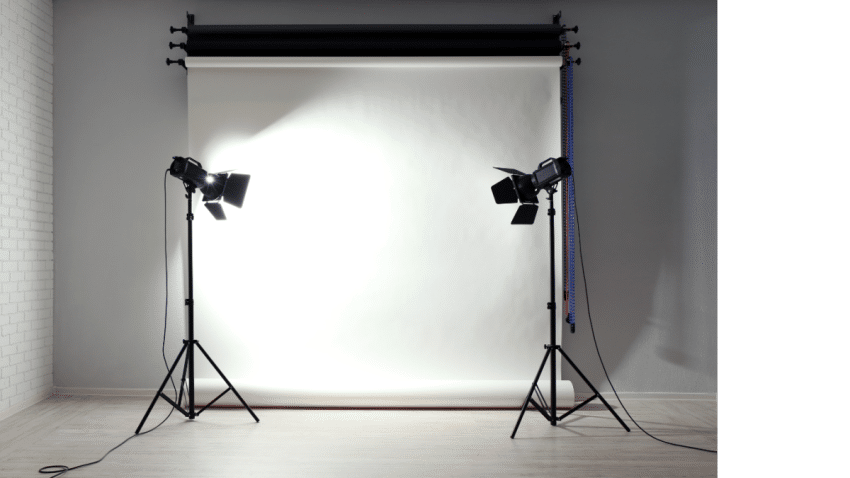
Use bright lights, but keep them indirect. Rather than overwhelming your artwork with spotlights, diffuse them, or reflect them off of white surfaces such as walls, paper, or reflectors designed for photography. Avoid using the camera’s flash, or direct sunlight, which are difficult to control and can create hot spots or harsh shadows.
Keep your light bulbs consistent to avoid mixing multiple temperatures of light, which can be tricky to correct later on. If you don’t have suitable indoor lighting, you can also photograph your work outdoors on a cloudy day, but it may be more difficult to set up a clean backdrop.
Capturing your photos
Take tester photos once you’re set up, then use those to see if you need to adjust anything. If your work is reflective or behind glass, ensure that you’re angled in such a way that minimizes–if not eliminates–any glare. Assess the quality of your image, zooming in on important details and checking the file size–you want a few megabytes at least, but the bigger the better for professional use.
Once you’re ready, the actual photography can go by quickly–just hit the button, then switch out the current artwork for the next one once you’re satisfied. We recommend taking multiple photos per piece, just in case. You can always narrow things down later.
There is a wealth of information available on the internet that can help you improve your photography skills, particularly on YouTube, so do some research and try out different settings and techniques until you find a method that works well for you. Even without a professional camera, there are resources that walk you through how to photograph artwork with a smartphone.
The Magic of Editing
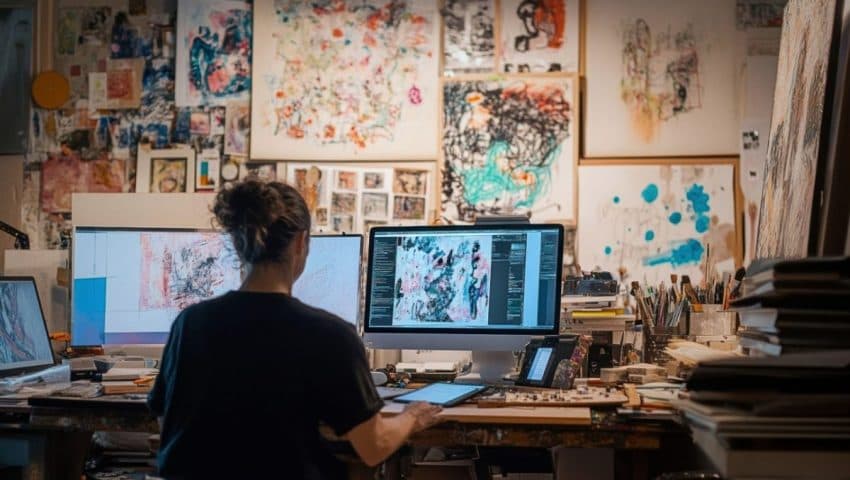
Editing can make or break your photos, so don’t skip this step. It can be difficult to capture a true-to-life image of your art, but through editing, we can get as close as possible.
Before you begin editing your photos, make sure you save a copy of the original files. This way, you won’t have to re-shoot the images if anything goes wrong.
Photoshop/Photo Editing tools
There are a wide variety of photo editing tools available on the market, the Adobe suite being perhaps the most well-known. That said, it’s a hefty investment, and there are good alternatives at a lower cost, or for free such as PhotoPea on the web, or Snapseed for mobile devices. Using these tools, you can make powerful edits that will help you portray your artwork accurately.
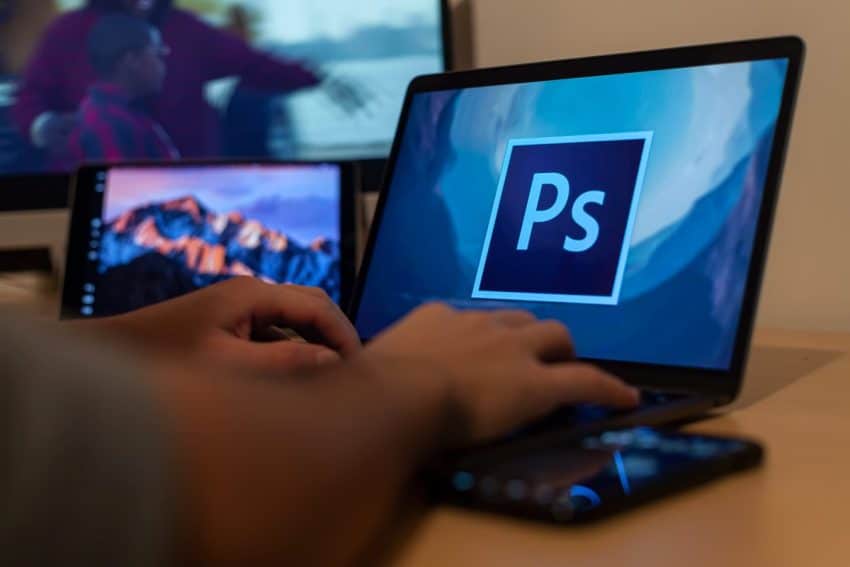
Correct any warped images if you weren’t able to line the artwork up in the frame. Fine-tune by making adjustments to the exposure, contrast, color temperature, saturation, and more, but make sure that with each alteration, you’re matching the artwork itself. We recommend that you edit your photos close to your artwork so you can compare them directly to the source.
Automatic features and presets that your software provides may also help you save some time, so don’t be afraid of trying them out, but be sure that they’re portraying your work accurately before you save.
As with the photography itself, there are many video tutorials available online that can teach you to edit your photos effectively. Practice makes perfect, so explore the features in your software until you understand what they do, and don’t be afraid to start over!
File Handling
Great photos of your artwork are useless if you can’t remember where to find them. Once you’ve got a photo you like, make sure to label it–rename the file to the title of the piece, or whatever will best help you identify it later. You may also want to include details in the file name such as the date it was created, dimensions, and medium, so that you won’t forget them later.
Once it’s renamed, store it in a folder that you’ll be able to find when you need it. As stated before, make sure you create a backup of your finished photos somewhere safe. After putting all of this effort into photographing your work, you want to make sure you have these photos stored securely.
Now that you have your photos, make use of them. Use them in your portfolio submissions for that open call, that grant application, or to spruce up your online presence, knowing that you’re equipped to repeat this process the next time you need great photos.
Get the next article and open calls
A few times a year. Unsubscribe anytime.
Questions? Feedback? Thoughts on this article, or a topic you’d like us to cover?