A Guide on How to Take the Best Artist Portrait
In today’s digital age, an artist’s portrait is more than just a photo; it’s a vital part of your personal brand. Whether you are preparing for an exhibition, building a website, or contributing to an artist interview, a good portrait communicates who you are. It can be a powerful representation of your artistic identity, professionalism, and creativity. But how do you take a portrait that genuinely captures your essence as an artist? Here’s a comprehensive guide to help you take a compelling and authentic artist portrait.
Choosing the Right Location: Make It Personal
Where you take your artist portrait can be just as important as how you take it. The backdrop of your photo should reflect your work or artistic environment.
In Front of Your Artwork
One of the most effective ways to convey who you are as an artist is by posing in front of your own creations. This setting can immediately tell your audience what your work looks like and what themes, colors, or mediums you prefer. When positioning yourself, make sure the artwork complements rather than overwhelms you. The focus should remain on you while the art subtly adds context to the image. Choose pieces that best represent your current artistic voice or are significant in your body of work.
In Your Studio
Taking your headshot in your studio adds a raw and authentic touch to the photograph. The setting offers a glimpse into your creative process, your tools, and your workspace. This can be a more relaxed, natural location for artists who want to show off the environment where they feel most at home. Whether it’s brushes, canvases, clay, or computers, a shot in your studio can create a strong narrative about your artistic process and identity.
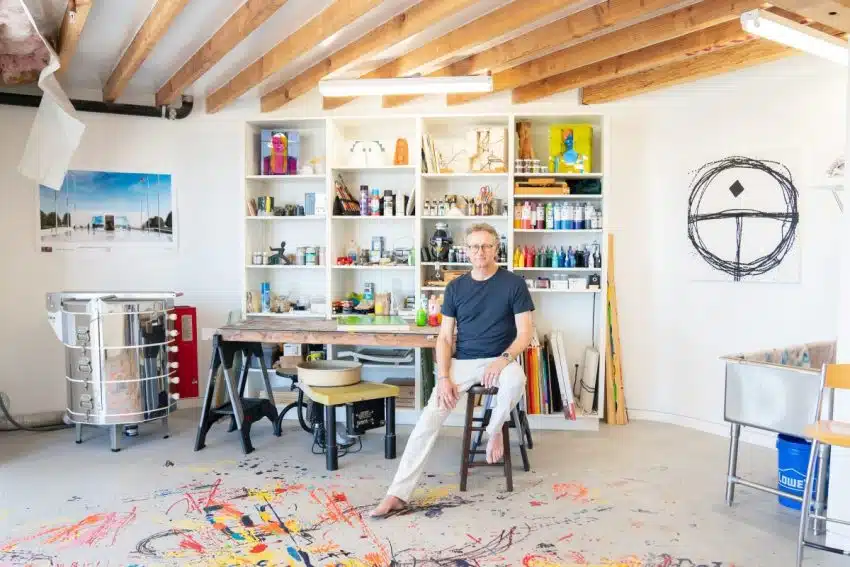
Agora Gallery artist Lawrence Robert Armstrong in his studio.
Outdoors
Natural light is often the best light and an outdoor setting can create a vibrant and fresh look for your portrait. Gardens, parks, or even cityscapes can all provide beautiful backdrops, especially if your work is inspired by the outdoors or urban landscapes. Just be mindful that the setting doesn’t pull too much focus from you and that the background aligns with your artistic themes.
Poses: How to Feel Comfortable and Look Confident
Your posture and expression will convey much about your personality and artistic approach. But posing for a photo can feel awkward if you’re not used to being in front of the camera. Here are some tips to help you relax and find the right pose.
Try to Relax
Tension in your body will show on your face. Take deep breaths and relax your shoulders. You’ll appear more natural and approachable in the photo.
Angle Your Body
Instead of facing the camera head-on, turn your body slightly to one side. This creates a more dynamic image. Try experimenting with slight angles to find the one that feels and looks the most comfortable.
Find a Natural Expression
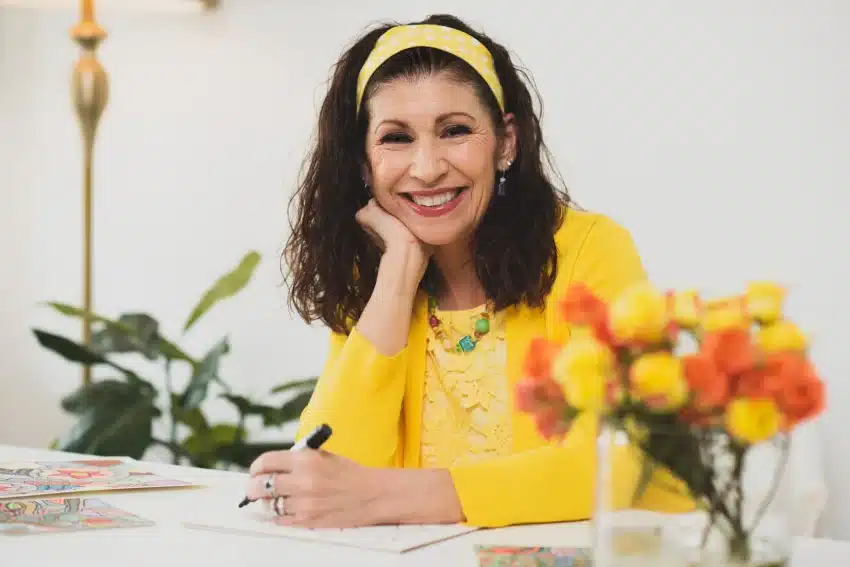
While smiling may seem like a default pose, it’s important to capture the expression that best fits your artistic identity. Some artists feel a neutral or even serious look better represents their work, while others may opt for a warm smile to appear approachable. Whichever you choose, ensure it feels genuine.
Pay Attention to Your Hands
If you’re unsure what to do with your hands, consider involving them in the shot. You could hold a paintbrush, rest your chin on your hand, or lean against a chair or work table. Including your hands in the frame can add depth and interest to the photo.
Lighting
Lighting is everything when it comes to photography. Good lighting will enhance your features and create the mood for the photo.
Natural Light
Whenever possible, opt for natural light. It’s softer and more flattering than harsh artificial lighting. Window light is ideal: position yourself facing the window, so the light hits your face evenly. Avoid direct sunlight, as it can create strong shadows and harsh highlights.
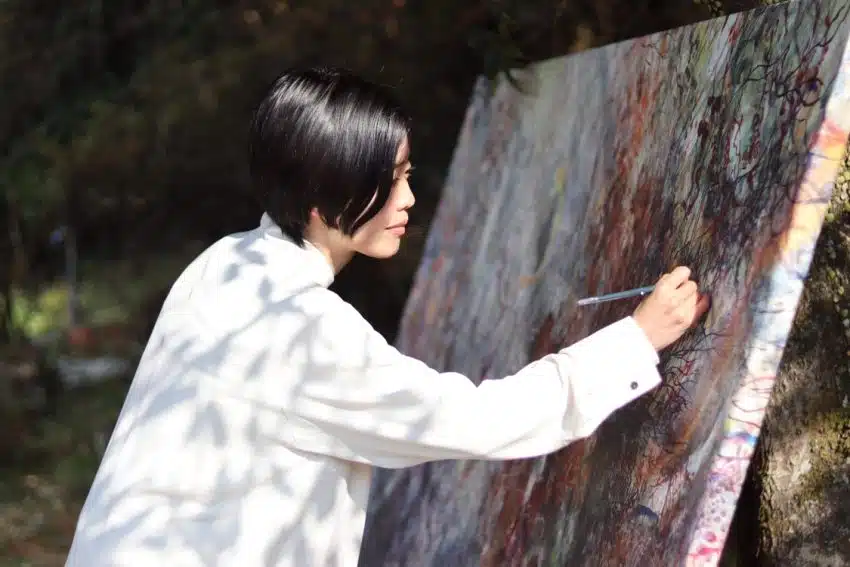
Agora Gallery Madoka Naito at work.
Studio Lighting
If you’re taking the photo indoors and natural light isn’t an option, consider using studio lighting. You don’t need expensive equipment: basic softbox lights or a ring light can create a balanced and professional look. Softbox lights diffuse the light, reducing harsh shadows, while a ring light creates a flattering glow on your face. Experiment with light positions to see which side of your face is more photogenic.
Overhead Lighting
Overhead lights, like the kind you find in most rooms, can cast unflattering shadows on your face. If you can’t avoid them, try using a soft light source from the front or slightly to the side to counteract the harshness.
Choosing the Right Equipment
While having professional equipment can make a difference, a good smartphone camera can still produce excellent results, especially with the right settings and lighting.
Smartphone Camera
If you’re using a smartphone, make sure to clean the lens before taking any photos. Smartphone cameras often collect dust and fingerprints, which can affect image clarity. Use portrait mode if your phone has it, as this feature creates a beautiful depth-of-field effect that blurs the background, ensuring you remain the focal point. Always shoot in good lighting (preferably natural light), as smartphones tend to struggle in low-light conditions.
DSLR Camera
A DSLR camera offers more control over settings like aperture, shutter speed, and ISO. With a DSLR, you can achieve sharper details and better control over depth of field. Use a 50mm or 85mm lens for portraits, as these provide flattering focal lengths that don’t distort your features.
Use a Tripod
Whether you’re using a smartphone or a DSLR, using a tripod can make the process easier. A tripod ensures that the camera stays steady, allowing you to focus on your pose and expression rather than worrying about camera shake. You can also use a remote shutter release or a timer to take the shot, giving you more freedom to pose naturally.
Editing: Enhance Without Overdoing It
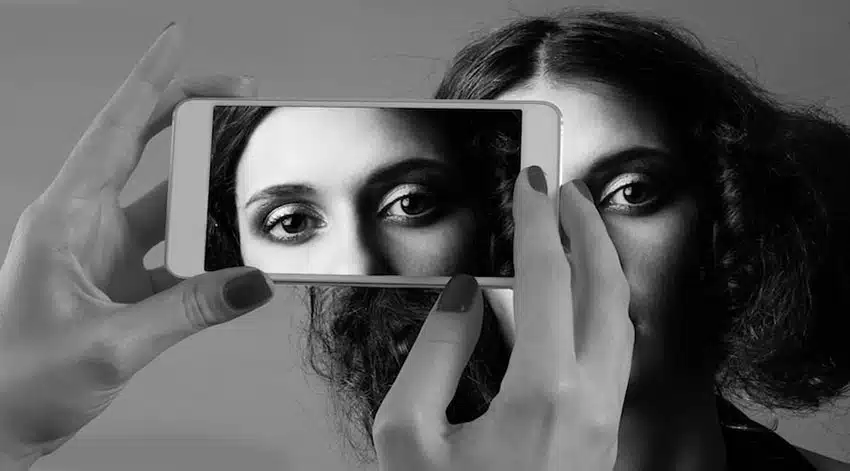
Once you have your image, it’s time to do some light editing. Editing is key for adjusting exposure, contrast, and color balance, but avoid heavy retouching that alters your appearance.
Basic Adjustments
Start by adjusting the brightness, contrast, and exposure to ensure your photo is well-lit and clear. Crop the image if necessary, but be sure to leave some breathing room around your head and shoulders.
Color Correction
Make sure the colors in your photo are true to life. If the lighting in the original shot was too warm or too cool, adjust the white balance to create a more natural skin tone.
Retouching
While it’s tempting to smooth skin and erase imperfections, avoid over-retouching. You want the portrait to look like you, not a highly edited version of yourself. Small touch-ups, like removing temporary blemishes or stray hairs, are fine, but keep it subtle.
Practical Tips for a DIY Portrait with a Smartphone
- Find Good Light: As mentioned earlier, natural light is your best friend. Shoot in the morning or late afternoon when the sunlight is soft.
-
Use a Self-Timer: If you don’t have a friend to help, set up your smartphone on a tripod or stable surface, and use the self-timer to give yourself enough time to pose comfortably.
-
Keep It Simple: The most effective portraits are often the simplest. Focus on a clean background, clear lighting, and a natural pose.
-
Take Multiple Shots: Take a variety of shots to experiment with different angles and poses. The more options you have, the more likely you’ll capture the perfect image.
Taking a great artist portrait is about more than just smiling for the camera. It’s about creating an image that authentically represents you and your work. By paying attention to your location, pose, lighting, and equipment, you can create a portrait that’s both professional and personal. Whether you’re using a DSLR or a smartphone, taking the time to plan your shot will ensure the result is a portrait that helps you stand out as an artist.
Looking to develop your artistic career and build a presence in New York City and worldwide? Book an online career development consultation meeting today.
Get the next article and open calls
A few times a year. Unsubscribe anytime.
Questions? Feedback? Thoughts on this article, or a topic you’d like us to cover?